

Dogs served in many different areas in World War I. Sentry dogs and Scouting dogs worked alongside soldiers on foot. Dogs also served as messengers. Casualty dogs had a very important role; trained to find the wounded and dying on battlefields, they carried medical supplies so soldiers who were able to could help themselves. If the soldiers were too badly wounded the dogs would stay beside them, giving them comfort while they died. The psychological importance of the comfort animals in the military could bring to soldiers should not be overlooked, which is why mascots were so important during war. Here are some brave dogs of World War I.
Cacolet
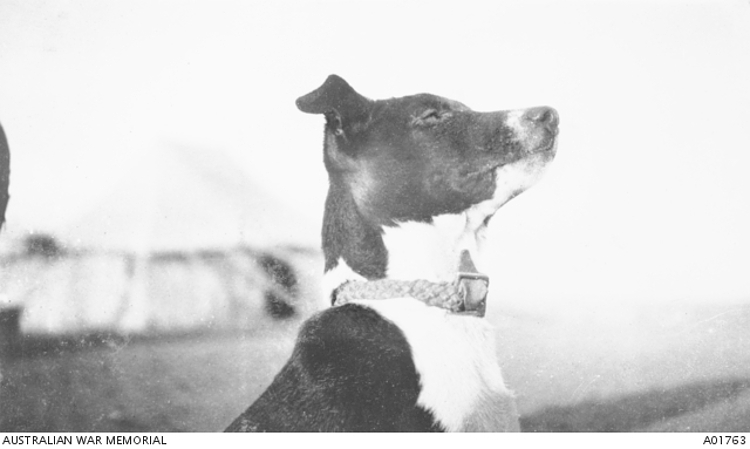

Cacolet was the mascot dog of the 5th Australian Light Horse Field Ambulance.
Wounded in Action

Two messenger dogs recuperating after a mustard gas attack which burned their feet.
Joe Burke
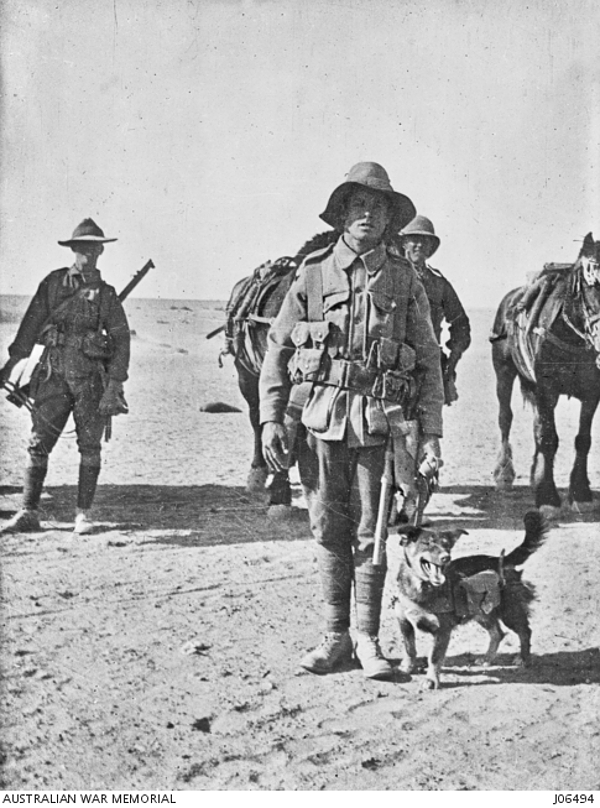

Joe was a Turkish dog found on the Aghyl Dere, Gallipoli.
WRAF Supervisor
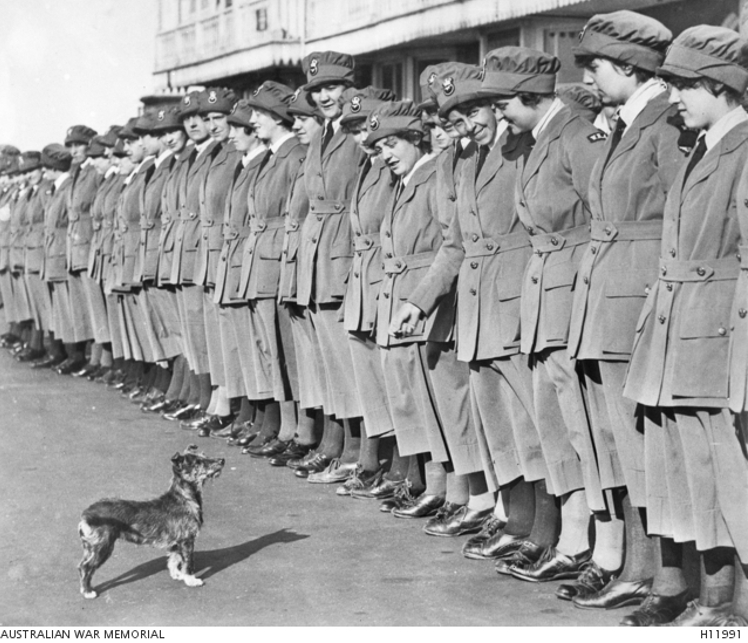

Members of the Women’s Royal Air Force on parade being inspected by a serious little dog.
Loyal to the Last


Little Fritz was found lying on the body of his dead master, a German soldier, in Courcelette, France, in 1916. Fritz was adopted by the Canadians who captured the village.
Messenger Dogs
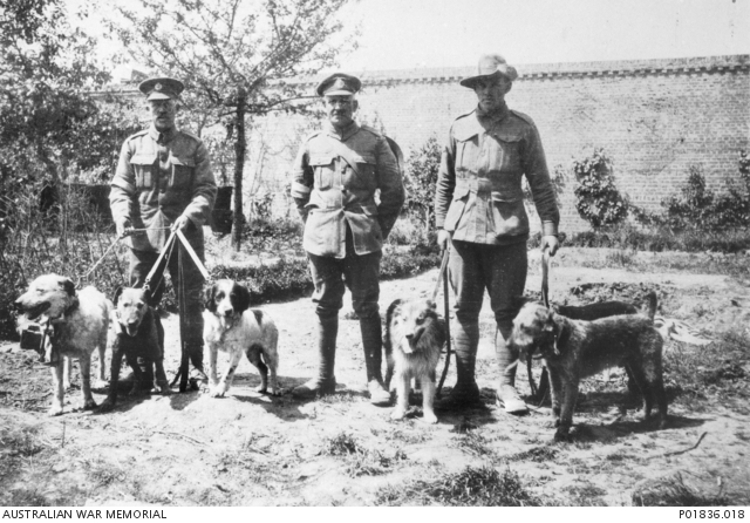

Members of the 2nd Divisional Signals Company, 1st AIF, with their messenger dogs, in St. Gratien, France, 1918.
Feeling the Cold
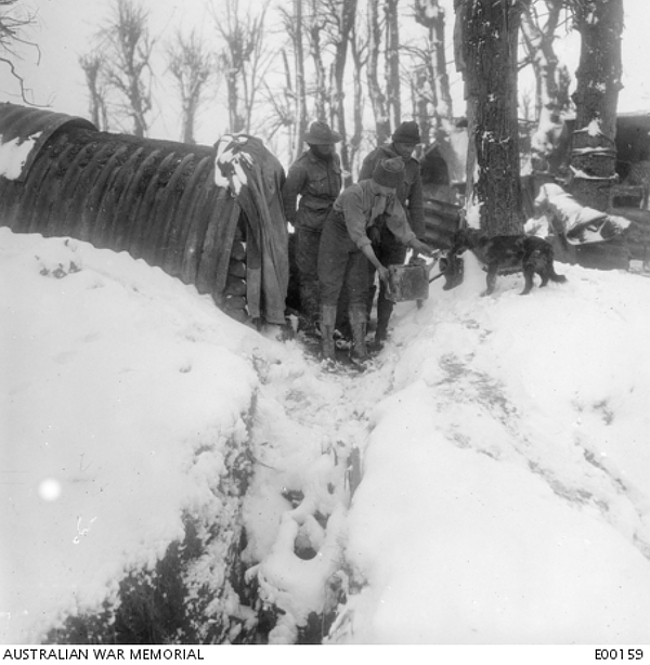

Australian soldiers giving their mascot dog a hot drink outside their corrugated iron dugout at Mametz Wood.
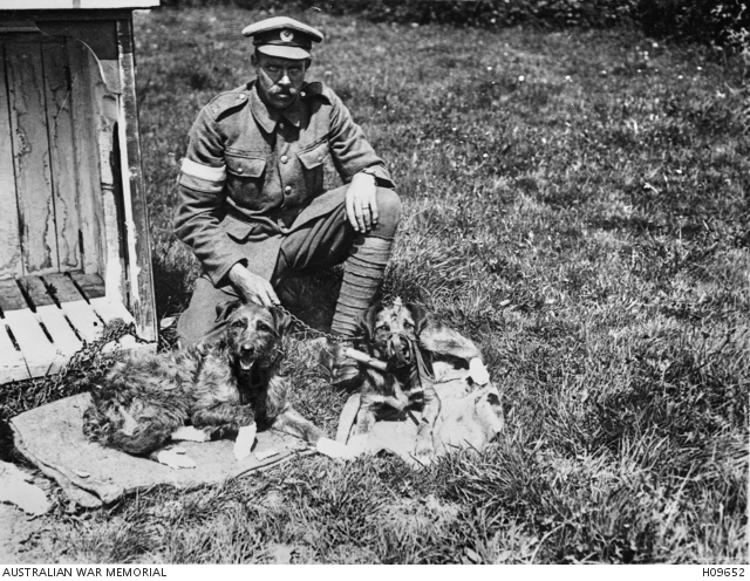
Nell, Trick and Buller
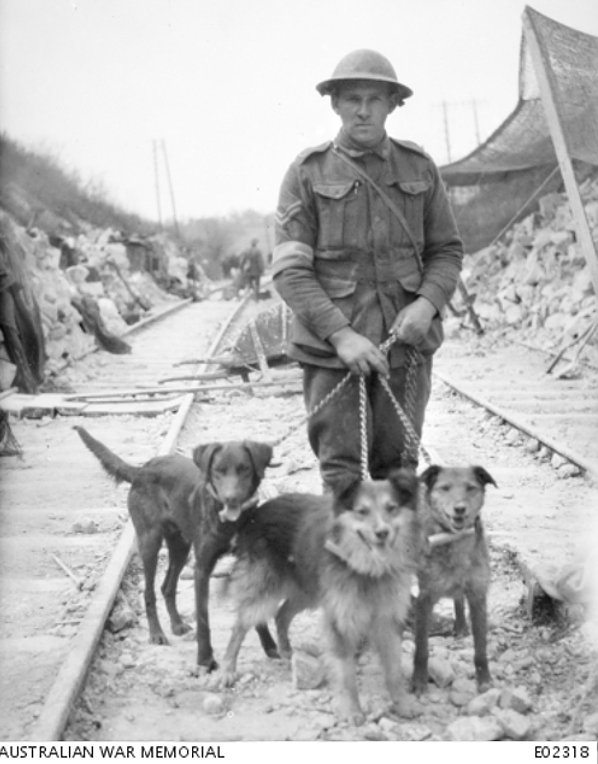

Pictured here with Corporal James Coull, messenger dogs Nell, a Cross Setter, Trick, a Collie and Buller (sometimes referred to as Bullet), an Airedale, saw service with the 2nd, 4th and 5th Australian Divisions. Trick earned a special mention by a Signal Officer of 2nd Division for good work at Rubimont.
The purple poppy remembers animals who died during military service. Visit the Australian War Animal Memorial Organisation to learn more about the bravery of animals in the military.
All pictures copyright Australian War Memorial.


